
How We Read a Room Before Anything Gets Moved
A look at the quiet first stage of the work: photographs, a tape measure and careful notes on light, so the room tells us what it can hold before a single idea is drawn.
Start with the room as it is
When a new learner sends us photographs of their space, the first thing I do is resist the urge to improve it. A spare bedroom, a corner of a garage, a dining room with a long window: each one already has a character, and the early work is simply to see it clearly. I print the photographs when I can, or enlarge them on a screen, and look at the walls, the floor, the ceiling height and where the doors swing.
This stage feels slow, and that is deliberate. Most frames that look cluttered or flat were arranged before anyone had looked at the room carefully. A bookcase went where there happened to be space, a lamp where there happened to be a socket. Reading the room first means that every later choice, from colour to chair angle, has something solid to answer to rather than a hunch.
Photographs that are actually useful
The photographs we ask for are plain on purpose. Stand in each corner and shoot toward the opposite one, then shoot the wall you expect to sit in front of, then the wall behind the camera position. Keep the phone at about chest height and level, not tilted, so the lines of shelves and door frames stay honest. Take them in daylight with the lights off, and again with your usual lamps on.
I ask for the second set because rooms change character after dark. A wall that looks warm and even at noon can turn patchy under a single overhead bulb. Seeing both versions side by side tells me early which parts of the room need help and which already work, and it saves a lot of redrawing later in the course.
- Four corner shots at chest height
- One straight-on shot of the likely background wall
- One shot from the wall toward the camera position
- Each set taken with daylight, then with lamps only
Measuring without making it a chore
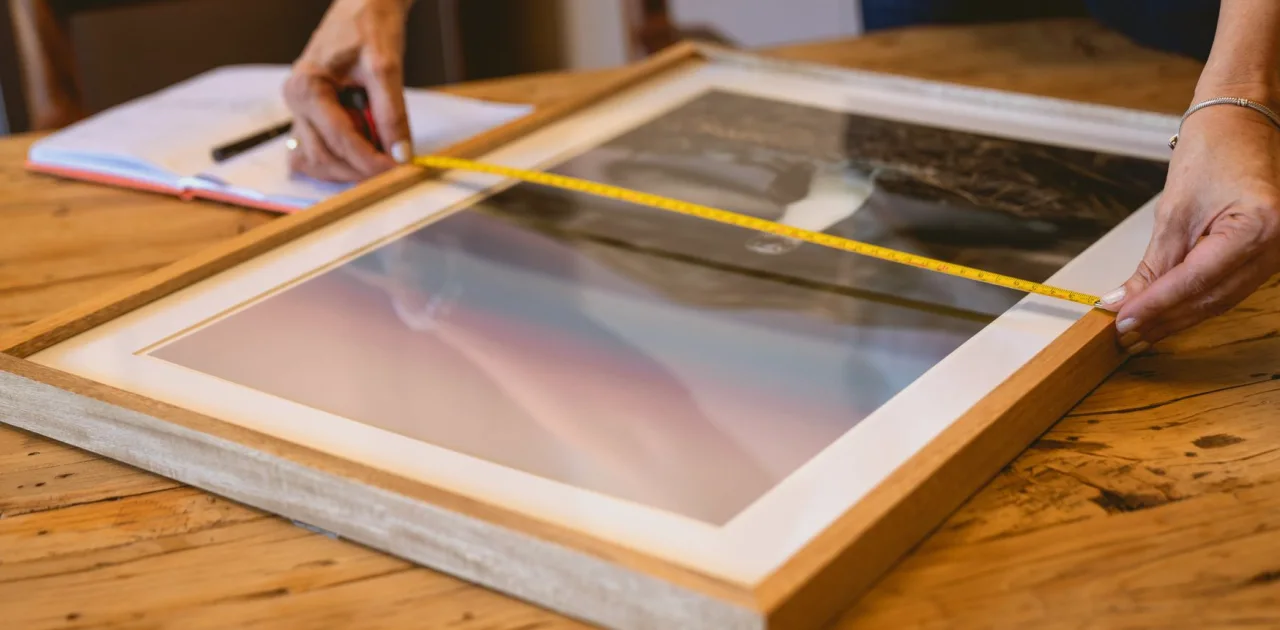
Measurements are the part people dread, yet a tape measure and a notebook cover nearly all of it. We measure wall lengths, ceiling height, the width of the window and the distance from the floor to its sill, and the position of every socket. Then we measure the gap between where the speaker will sit and where the camera could stand, because that distance quietly decides how much of the background will show.
I sketch the room from above while measuring, a rough rectangle with doors and windows marked, and write each figure directly on the drawing. Learners often expect something technical. It is closer to a careful household note. The sketch does not need to be pretty, only readable by someone who has never stood in the room, which is exactly who will rely on it later.
Following the light through the day
Light is the thing a room cannot hide, so we note it early. Which direction does the window face, and at what hours does the sun reach the wall you want behind the speaker? A bright window in shot can pull the whole picture dark, while the same window at the side can give a soft, flattering edge. We write down where the brightest and dimmest patches fall and whether they move during a typical recording hour.
In these mid autumn weeks the sun sits lower and travels faster across a room than it did in summer, which makes the exercise especially revealing. A spot that was evenly lit in July may now throw a hard stripe across the wall by mid afternoon. Noting this honestly, with times beside each observation, helps a learner choose a recording slot and a seating position that will stay calm.
What will and will not appear in the frame
Once the room is photographed and measured, we decide what the camera will actually see. A frame is much smaller than the room. A door to the hallway may sit just outside it, while a radiator or a stack of boxes may land squarely behind the speaker's shoulder. I hold a phone at the planned camera spot and walk the edges of the picture, marking on the sketch what is in and what is out.
This step often releases people from worry. They had been fretting about a messy corner that never reaches the lens, while a dull strip of bare wall directly behind the guest had gone unnoticed. Knowing the true boundaries of the frame means effort goes where viewers will look, and the rest of the room can stay as lived in as it likes.
- Mark the frame edges on the top-down sketch
- List fixed items that cannot move, such as radiators
- Note anything reflective that could catch the lamp
Notes that carry into the next stage
By the end of this stage a learner holds a small set of materials: a dozen photographs, a labelled sketch, a list of measurements and a page of notes on light. None of it is glamorous, yet it is the foundation for everything that follows. The colour work, the background sketches and the furniture plan all lean on these pages, and each time something feels uncertain we go back to them.
I also keep a short list of questions a room has raised, such as why one corner feels cramped or where a lamp might sit without shadowing a face. We leave those unanswered for now. They become the opening points when the mood board begins, and having them written down means nothing noticed during the reading is lost along the way.
Reading a room is patient, ordinary work: photographs, a tape measure, a sketch and honest notes on light. It asks for no special equipment and no design instinct, only attention. Learners who give it an unhurried afternoon tend to find the later stages calmer, because every decision has something real to rest on. Start with the room as it stands, write down what you see, and let the space tell you what it can comfortably hold.
Keep reading
-
How to Build a Warm Neutral Palette and Mood Board for Your Set
A step-by-step guide to choosing a warm neutral palette and assembling a mood board that suits your guests, your topic and the way your camera sees colour.
-
Hannah and the Spare Room: A Case in Reading Your Room
A short story about Hannah, a podcast host who thought her spare room was too small and too bright, and what a morning with a tape measure and a camera changed.