
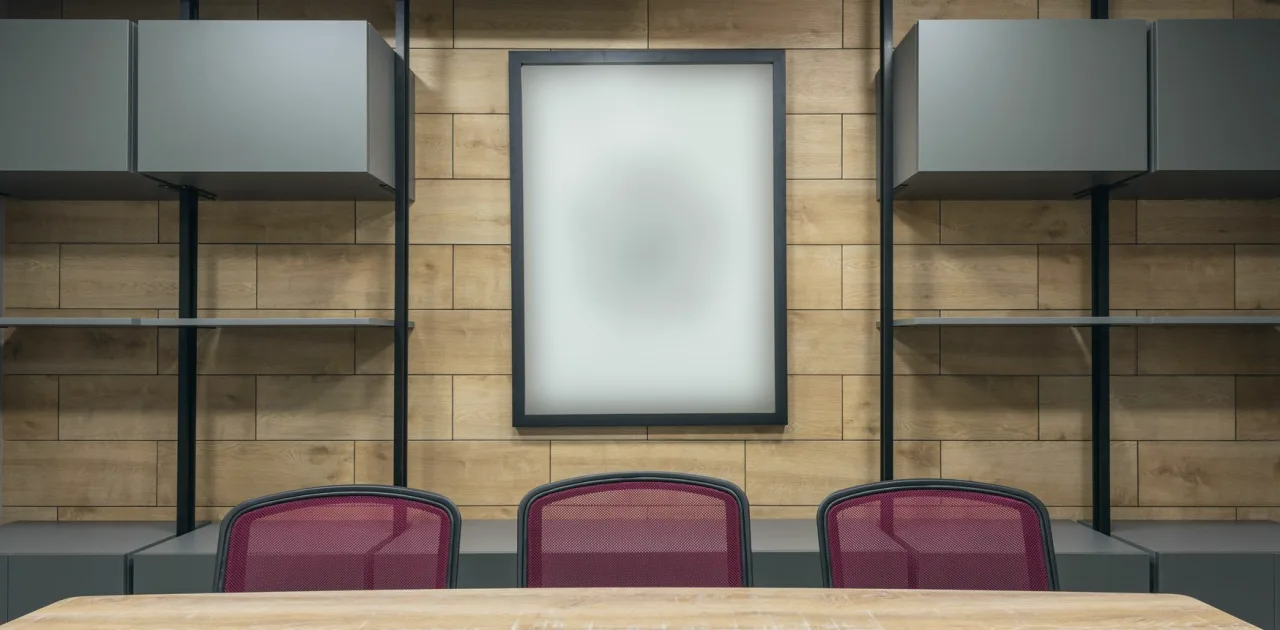
What Background Design Costs and What Moves the Price
A plain look at what drives the cost of designing the wall behind your speaker: materials, build effort, room size and how much you do yourself.
Why one backdrop costs far more than another
When people ask me what a background costs, I start by asking what they want the wall to do. A backdrop that only needs to look tidy behind one host is a small project. A backdrop that must carry depth for two guests, hold lit shelves and hide a door is a different one. The price follows the ambition far more than the square footage.
I teach this in the background design module because learners often guess in the wrong direction. They assume the big expense is the furniture or the lamps. In practice the cost is spread across three things: what you build or buy, how long the work takes, and how many times you have to redo it after a test shot.
Seeing those three clearly before you sketch anything keeps the plan honest and the budget calm.
The main drivers behind the number
Materials come first. Paint, fabric panels, wood slats, open shelving and wallpaper sit at very different price levels, and the finish matters as much as the material. A rough board that reads well on camera can cost less than a polished one that looks the same at six feet.
Second is the amount of wall that actually appears in frame. Many rooms need only a section roughly the width of the shot, not the whole wall. Third is structure: anything fixed to a wall, such as shelves, rails or a slatted panel, adds fixings, measuring and repair work, while freestanding pieces can move with you.
Fourth, and often forgotten, is lighting around the backdrop. A wall that needs its own soft light to show texture carries that cost with it.
- Materials and finish quality
- Width of wall actually in frame
- Fixed versus freestanding construction
- Extra light needed to show depth
Where the course keeps costs down
The first saving comes from reading your room properly. Learners photograph and measure the space, mark the camera position and sketch only what the lens will see. That single step usually shrinks the project, because the visible area is smaller than people expect.
The second saving is working in layers on paper. You sketch the base wall, then one depth element, then a few objects, and judge each addition by what it gives the frame. If a shelf adds nothing a plant could not, it comes out of the drawing before any money is spent.
We also encourage reusing what you already own. Books, a sideboard and a lamp from another room often do the work of new purchases once they are grouped with intent.
Things that quietly raise the price
Rework is the biggest hidden cost. A panel mounted before you check the angle, then moved, costs twice. Test with tape, paper templates or borrowed pieces first, and look at a recorded clip rather than the room with your own eyes.
Another is chasing detail the camera cannot show. Fine carving, rich patterns and tiny decorative objects tend to disappear or turn into visual noise at normal interview distance. Simple shapes in warm neutral tones read cleanly and cost less.
Finally, rooms with awkward features such as bright windows, mirrors or glossy surfaces can require extra fixes. These are worth spotting early, because they change what the backdrop has to do.
- Mounting before testing the angle
- Detail too small to read on camera
- Windows, mirrors and glossy surfaces
A sensible way to set a budget
I suggest splitting the plan into three tiers. The first holds what the frame needs to work at all: a clean wall surface, a clear space behind the speaker and some separation from it. The second holds what improves depth, such as one shelf unit or a textured panel. The third holds decoration.
Fund the first tier completely, then the second, and treat the third as optional. Many learners finish after tier two and find the frame already feels composed.
Write down a range rather than a single figure, and leave a small margin for the adjustments that follow your first recorded test. Prices vary by region and supplier, so gather local quotes or shop prices before you commit to anything.
What to bring when you ask about cost
If you want a useful estimate from anyone, yourself included, gather a few items first. Bring clear photos of the wall from the camera position, the wall width and ceiling height, and a note of the lights and windows nearby.
Add a rough sketch of what you imagine and a list of pieces you already own. With those in hand, the conversation moves from guesses to choices, and you can see which decisions actually move the price.
In the course, this folder becomes the starting point for your layout plan, so the effort is never wasted. It also makes it easy to compare options side by side later.
- Photos taken from the camera position
- Wall width and ceiling height
- Notes on windows and lamps
- Pieces you already own
Background design costs what its materials, construction and testing add up to, and most of that can be steered by decisions made on paper. Measure first, draw only what the lens sees, test before you fix anything and keep decoration for last. A calm, modest backdrop often serves a conversation better than an elaborate one, and it leaves your budget free for the parts of the room that matter more.
Keep reading
-
How We Read a Room Before Anything Gets Moved
A look at the quiet first stage of the work: photographs, a tape measure and careful notes on light, so the room tells us what it can hold before a single idea is drawn.
-
Two Ways to Build a Palette: Swatches First or Camera First
Daniel Whitaker compares starting a mood board from physical swatches with starting from test frames on camera, and says which route suits a warm, neutral interview set.