
What Reading Your Room Costs and What Moves the Price
A plain look at what the Reading Your Room module asks of you in money, time and materials, and which parts of a room survey decide whether the effort stays small or grows.
Start with what the module actually covers
Reading Your Room is the first module in the course, and it teaches one habit: look at a space the way a camera will. You photograph the room from set positions, measure walls, doors and windows, note where light enters and when, and decide what will and will not appear in the frame. When people ask me what it costs, I begin with that scope, because the price follows the work and not the other way round.
The work is mostly done with things you already own. A phone, a tape measure, a notebook and a free hour or two in the room are the core of it. That is why this module tends to be the least expensive part of planning a recording space, and why it makes sense to do it properly before spending anything on furniture or decoration.
I write this in mid autumn, when many learners are moving their recording back indoors and reassessing a room they last used in summer. The season matters for the survey itself, as the light has changed since then.
The tools you may already have
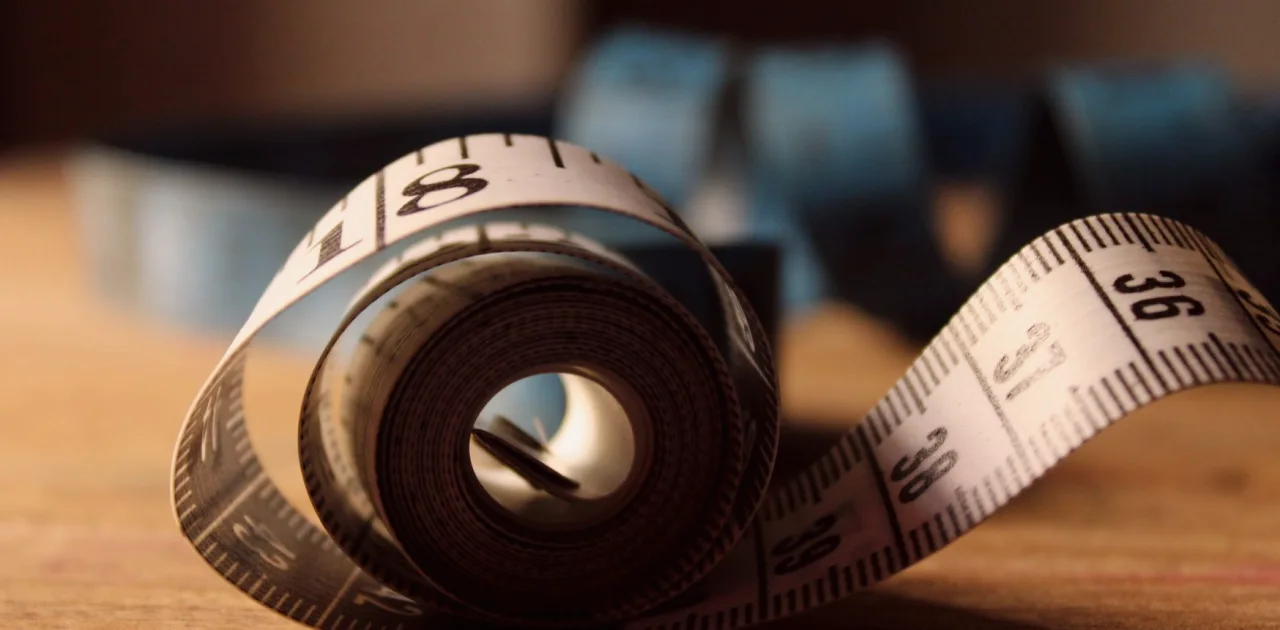
A basic survey needs a tape measure that locks, a notebook or a sheet of graph paper, a pencil and a phone camera. Many people own all four. If you need to buy a tape measure, a sturdy one costs little and will serve you through every later module, including the layout plan.
Some learners like to add a small spirit level, painter's tape for marking floor positions, and a printed copy of the room outline. These are helpful rather than required. I would rather you start with the simple kit and add a tool only when a specific task shows you the need.
What drives cost up here is not the tools but the urge to buy before measuring. A lamp, a shelf or a rug chosen without dimensions often has to be returned or worked around. Measuring first is the cheapest decision in the whole process.
- Tape measure, notebook and pencil
- Phone camera for the photograph set
- Painter's tape for marking positions
- Optional: spirit level and printed outline
Time is the larger cost
For most rooms the survey takes one focused session of roughly two hours, plus a short return visit to check light at a different time of day. Larger or irregular rooms, such as an attic with sloped walls or a living room with two windows on different walls, take longer because there are more edges to record and more light to follow.
Study time comes on top of that. The lessons are hands-on, so you work from your own photographs and measurements as you go, and the module reads best when you can do the exercises in the room itself instead of from memory.
If you are tight on hours, split the survey into two evenings: measurements one night, light notes and photographs the next. That keeps the work accurate without turning it into a weekend project.
What pushes the effort and spending up
Three things change how demanding the survey becomes. The first is room complexity: alcoves, radiators, low ceilings and several doors all add measurements and decisions. The second is light: a room with strong, shifting daylight needs notes at more than one hour, while a windowless room is quicker to read but needs a closer look at lamps and ceiling fixtures.
The third is how much of the room is visible behind your guests. A small camera angle shows a narrow slice of wall, so you survey less. A wide angle or a standing set shows more, and every extra metre of wall is something to assess.
None of these needs to cost much in money. They cost attention, and that is worth budgeting honestly before you start.
- Alcoves, radiators and awkward corners
- Strong or changing daylight
- Wide camera angle showing more wall
- More than one person on camera
Where money is better saved than spent
The survey is the stage where it is easy to overspend by reacting to what you find. You notice a bare wall and want to fix it at once. Hold that impulse. The point of reading the room is to produce a clear record, and the choices come in later modules, when colour, background and furniture are planned together.
I would also steer you away from paying for a professional measurement or specialist light meter for an ordinary home room. A tape and careful notes are accurate enough for planning, and the course teaches you what to record so the numbers are usable.
If you do spend, spend on the one thing the survey exposes as a real problem, such as a harsh overhead fitting that flattens faces. Fix what the camera actually sees, not what merely looks untidy to you.
A sensible budget order
Put the survey first, at the cost of a tape measure and a couple of unhurried sessions. Then keep your findings in one place: a labelled folder of photographs, a sketch with measurements and a short list of light notes. This record is what you carry into the colour, background and furniture modules, so it earns its keep several times over.
Only after that should money move toward objects. By then you know which wall appears in frame, how far your guest can sit from it, and where light will fall. Each purchase answers a question you have already written down.
That order keeps spending small, avoids returns and gives you a plan you can explain to anyone helping you set up.
The cost of reading your room is mostly your attention: a few inexpensive tools, an afternoon or two and a willingness to measure before buying. Room shape, light and how much wall shows in frame decide how long it takes, not how much you spend. Treat the survey as the foundation of the rest of the course, keep the record tidy, and let every later choice rest on what you found.
Keep reading
-
Seating Distances and Angles to Plan Before the Winter Recording Season
Mid autumn is a good moment to rethink where chairs sit. Marisol Vega walks through seating distances, angles and sightlines for one, two or three people on camera.
-
Two Ways to Build a Palette: Swatches First or Camera First
Daniel Whitaker compares starting a mood board from physical swatches with starting from test frames on camera, and says which route suits a warm, neutral interview set.
-
Common Mistakes in Colour and Mood Boards, and How to Avoid Them
Priya Nair walks through the slips that most often weaken a mood board for interviews and streams, from crowded swatches to ignoring the camera, and how to correct each one.