
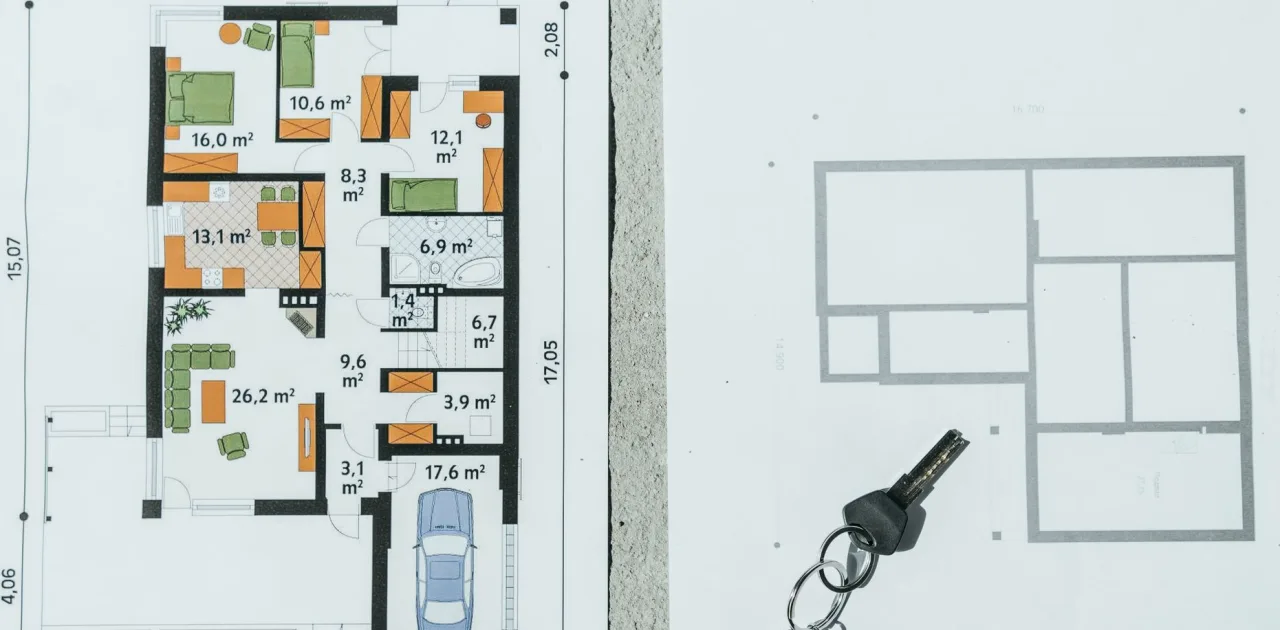
A Checklist Before You Commit to a Layout Plan and Setup Day
Priya Nair lists the questions worth answering before you turn a concept into a scaled layout plan and decide whether a calm, optional setup session suits your recording space.
Start with what the plan has to answer
A layout plan is only useful if it answers a question you actually have. Before you decide anything, write down in one or two sentences what the plan should settle. Perhaps you are unsure whether two armchairs fit in front of the shelves without crowding the door. Perhaps you want to know where a lamp can stand so its cord stays out of the frame. A plan drawn without a question tends to repeat what you already know and leaves the awkward corner exactly as awkward as before.
In the course, this is the point where the concept from your mood board meets the real room. The concept says warm, quiet, a little layered. The plan says where each piece goes, how far apart, and which wall the camera faces. If you cannot yet say what the room needs to do on recording days, spend a few minutes on that first. It saves a lot of redrawing later.
- Name the single biggest doubt about your room
- Note how many people will be on camera at once
- Decide which wall the camera will face
Check that your measurements are complete
Scaled plans stand or fall on their numbers. Before you decide to draw, check that you have the width and length of the room, the height of the ceiling, and the position and size of every door, window and built-in feature. Measure twice, and write the figures beside a rough sketch rather than trusting memory. A few centimetres of error along one wall can push a chair into a doorway on paper and nobody notices until setup.
Include the things that are easy to forget: radiators, sockets, a low beam, a skirting board that sticks out. These rarely appear in a photograph but they decide where furniture can sit. If something is missing, take ten minutes to go back with a tape measure. It is quicker than discovering the gap once the plan is finished and the pieces are already in the room.
- Room width, length and ceiling height
- Door and window positions and sizes
- Sockets, radiators and fixed furniture
Be honest about sightlines and distances
Once the room is on paper, test it from the camera's point of view. Where does the lens sit, and what does it see behind each person? A plan can look balanced from above and still put a floor lamp directly behind a guest's head. Draw a simple cone from the camera position and check that nothing awkward falls inside it. Then check the distances between seats: close enough for easy conversation, far enough that nobody leans or squints.
This is also the moment to ask whether the plan works for one person as well as two or three, if your show changes format. A layout that only suits a full panel can feel empty when you record alone. Decide which arrangement you will use most often and let that one lead. Occasional variations can be noted as small adjustments rather than a second full plan.
- Draw the camera cone and check what falls inside it
- Confirm comfortable seat spacing for your usual guests
Decide whether a setup day is worth it for you
The setup day is optional, and that is deliberate. Some learners prefer to move the furniture themselves over an afternoon, following their own plan. Others want a calm, structured session where pieces are placed in order, checked through the camera, and adjusted until the frame feels settled. Neither choice is the better one. It depends on how much heavy lifting the room involves, how confident you feel reading your own plan, and whether you would enjoy a second pair of eyes.
If you lean toward a setup session, think about what you would want from it. A short list helps: which pieces must move, which should stay, and what you would like to judge on camera before the day ends. Going in with that list keeps the session unhurried and prevents it from turning into a general rearrangement of the whole space.
- Estimate how much furniture actually needs to move
- Write a short list of items to judge on camera
Prepare the room and the day itself
If you go ahead, a little preparation makes the session feel easy. Clear the floor space you will be working in, set aside the props you are unsure about, and keep your plan printed or open where you can see it. Check that you can reach sockets and that nothing fragile sits in a walkway. Tell anyone who shares the space when the session will happen, so the room is not in use halfway through.
Leave time at the end for a few test recordings. Sit in each position, speak for a minute, and watch the playback. Small changes often show up only then: a plant that leans, a shelf that reads too busy, a chair angle that hides a face. Accept that the first arrangement is a draft and allow an hour for these adjustments before calling the work finished.
- Clear floor space and keep the plan visible
- Allow time for test recordings and small fixes
Know what to expect afterwards
A good outcome is a room that feels settled and a plan you can return to. You should be able to put things back after a recording, move them again for a different format, and understand why each piece sits where it does. That understanding matters more than any single arrangement, because rooms change: a new lamp, a different guest, a shift in the light through autumn afternoons.
Be realistic about what a plan and a setup day cannot do. They will not fix poor sound, and they cannot change a room that is simply too small for the number of people you want on camera. What they can do is make the best use of the space you have and give you a frame that looks composed without effort on each recording day.
Before deciding, go through the list: a clear question for the plan, complete measurements, honest sightlines, a view on whether you want a setup session, and a prepared room. If you can answer each calmly, you are ready to move from concept to layout. If one answer is still vague, that is where to spend your next hour, and the plan will be better for it.
Keep reading
-
A Colour and Mood Board Checklist to Run Through Before You Commit
Before you settle on a palette for your recording space, work through these checks on guests, topic, camera and light, so the board you choose still looks right on screen.
-
A Bare Wall Behind Tomás: Redesigning His Interview Backdrop
Tomás hosted a weekly interview show against a flat white wall. This short case follows how a few sketches of shelves and panels gave his frame depth without clutter.