
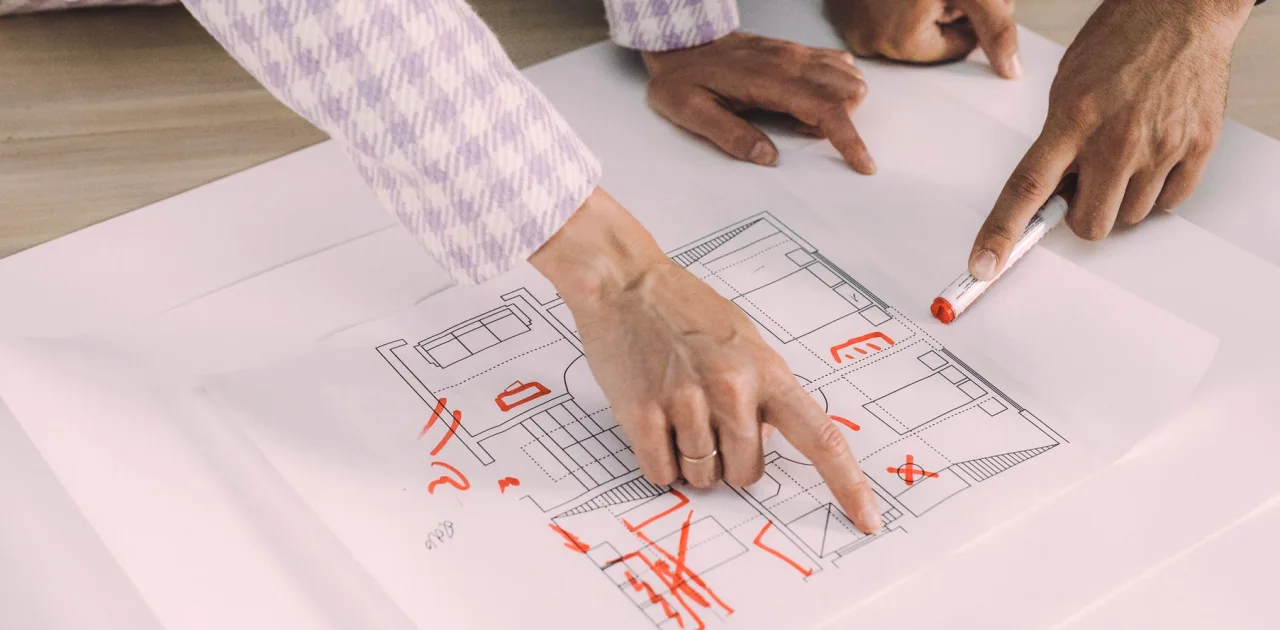
Behind the Scenes: How a Layout Plan Becomes a Calm Setup Day
Marisol Vega walks through how a scaled layout plan is drawn from room photographs and measurements, and how an optional setup day is paced so nobody rushes.
Where the layout plan begins
Every layout plan I draw starts with the same small pile of material: a handful of room photographs, a sheet of measurements, and a note about who will sit where. By the time we reach this stage in the course, learners have already walked through the room, found the windows and outlets, and decided what the camera will actually see. The plan is where those observations finally become one drawing.
I work on graph paper first, even though the final version is clean and scaled. A pencil sketch lets me move a sofa six inches without fuss, and it keeps the conversation relaxed. Most of the early lines get erased, which is exactly the point: the drawing is a place to be wrong cheaply before anyone lifts a chair.
Drawing to scale without special software
People often assume a scaled plan needs professional tools. It does not. We teach a simple ratio, usually one square of graph paper for six inches of floor, and a set of paper cut-outs for each piece of furniture drawn at the same ratio. You slide the cut-outs around the outline of the room until the arrangement feels right.
The measurements that matter most are the ones people skip: the width of the door swing, the distance from the back wall to the seat, and the depth of the chair once someone is actually sitting in it. A guest leaning back takes more room than the empty chair suggests. We mark these on the plan so nothing surprises you on the day.
- Door swing and walkways kept clear
- Seat depth measured with a person in it
- Camera position and lens width marked
- Outlets and cable paths noted
Sightlines, distances and the frame itself
Once furniture has a place, I check sightlines. Two people facing each other should not have to turn their necks, and a host should be able to glance at notes without leaving the frame. We usually sit in the chairs ourselves with a tape measure and agree on a distance that feels like conversation rather than interrogation.
Then comes the frame. I tape a rough rectangle on the floor or hold up a phone to see how the background lines up behind each speaker. A shelf corner growing out of someone's head is far easier to fix at this stage than after the cables are taped down. The layout plan records the camera height and angle so the result can be repeated.
What a setup day actually looks like
The setup day is optional, and we say so plainly. Some learners carry out the plan alone over a weekend; others like a second pair of hands. When I join one, we agree on a start time, a pot of tea, and a single order of work: furniture first, then background, then props, then a test recording.
We do not aim to finish in a frenzy. A calm setup usually takes a morning for a small room, with a break before the final check. If something does not fit the plan, we change the plan rather than force the furniture. A drawing is only useful if the room is allowed to correct it.
Small habits that keep the day quiet
A few habits make the difference between a tidy morning and a stressful one. Clear the room of unrelated things the day before. Label each piece on the plan with a number and place a matching sticky note on the item, so helpers know where it goes without asking.
Keep a short list of what you will need to carry in: lamps, extension leads, a step stool, a lint roller for cushions. Leave the props until last, because they are the easiest to adjust and the most fun. Finish with a ten-minute test recording, and watch it with the sound off first, simply to judge the picture.
- Number furniture on the plan and on the pieces
- Prepare a carry-in list the evening before
- Props go in last, after the test frame
Keeping the plan after the day is over
When the session ends, photograph the finished room from the camera position and from the doorway, then store those images beside the plan. Next season, when the light changes or a guest needs a different chair, you have a record to return to instead of starting from memory.
I also ask learners to mark on the drawing anything they would shift next time. Rooms rarely come out exactly as drawn, and those pencilled notes are often the most valuable part of the page. The plan becomes a living document for your recording space rather than a one-off exercise, which is what these early autumn weeks are good for.
A layout plan and a setup day are less about perfection than about removing guesswork. Draw the room to scale, test the sightlines, and pace the work so there is room for adjustments. Whether you do it alone or with a second pair of hands, the aim is the same: a recording space that feels composed, welcoming and easy to repeat whenever you sit down to record.
Keep reading
-
Six Room-Reading Mistakes That Quietly Spoil an Interview Frame
Most framing problems begin before any furniture moves. Priya Nair walks through the common slips in photographing, measuring and judging a room, and the simple habits that prevent them.
-
What Background Design Costs and What Moves the Price
A plain look at what drives the cost of designing the wall behind your speaker: materials, build effort, room size and how much you do yourself.
-
What a Colour Palette Really Means on an Interview Set
A plain-words guide to the terms behind colour and mood boards: undertone, value, accent and saturation, and how each one behaves once a camera is pointed at your wall.