
Choosing and Arranging Props So Every Item Earns Its Place in Shot
A step-by-step method for selecting books, plants, lamps and small objects behind an interview host, and for testing the arrangement on camera before you record.
Start with a reason for every object
Before you carry a single item into the room, write down what the frame needs to say. A host who talks about gardening, local history or small business finance has a clear subject, and the objects behind them can support it quietly. I ask learners to name the reason for each prop in one short phrase: warmth, height, a nod to the topic, a spot of colour, or a soft light source. If an item has no phrase, it stays out of the shot.
This habit sounds strict, but it saves a great deal of time. Most cluttered backgrounds happen because someone added things one at a time, each seeming harmless, until the shelf looked like a storage cupboard. Starting from reasons keeps the edit simple. It also gives you something to explain if a guest asks why there is a lamp behind them.
Keep the list short. Five or six well-chosen objects behind a speaker usually do more than twenty, and they are far easier to dust, move and photograph when you want to repeat the look next season.
- Write one reason beside every prop
- Remove anything you cannot justify in a phrase
- Aim for five or six objects per shelf area
Gather, then sort by size and role
Collect candidates from around your home or studio and lay them on a table in good daylight. Do not decide yet. Group them by role: tall anchors such as a floor plant or a slim vase, medium objects like stacks of books or a framed print, and small accents such as a candle, a bowl or a ceramic piece. A frame usually needs one or two anchors, a handful of mediums and only a few accents.
Check each object for shine. Glass, glossy ceramic and metal catch lamps and window light, and on camera they can flash or throw a hot spot. Matte finishes in wood, linen, paper and stoneware tend to sit more calmly. If you love a shiny piece, test it early and be ready to turn it by a few degrees.
Colour matters here too. Pull out anything that fights your palette. A warm neutral frame with one muted green plant and a single deeper accent colour looks composed. Three competing accent colours look busy, however pretty each one is alone.
Books, plants and lamps: what each one does
Books give a frame texture and a sense of lived-in thought. Stack a few horizontally with a small object on top, and stand a few upright beside them. Turn spines inward or cover them in a neutral paper if the titles are loud, since bright lettering pulls the eye away from the speaker. Avoid titles you would not want a viewer to read and judge.
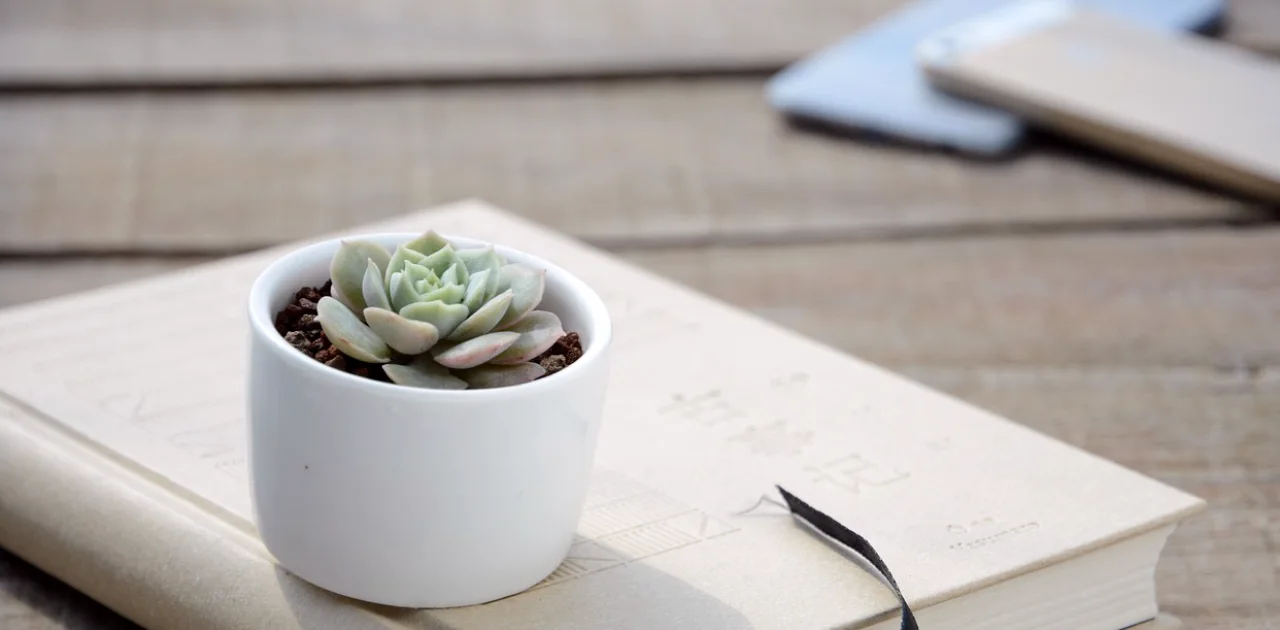
Plants soften the hard edges of shelves and panels. One medium plant with an open, leafy shape works better than several small pots. Check that leaves do not touch the speaker's head line, and rotate the pot so the fullest side faces the lens. Artificial plants are fine if they are good ones, but dust them often.
A lamp does a different job: it adds a warm pool of light and a point of depth. Keep it low in brightness, switched on, and positioned so the bulb is hidden by the shade. A practical lamp that is visible and glowing tells the viewer the room is real and welcoming.
- Books: horizontal stacks plus a few upright
- Plants: one fuller plant rather than many small ones
- Lamps: shaded, dimmed and always switched on
Arrange in layers, not in a line
A row of objects lined up along a shelf reads as storage. Layers read as a composition. Place a taller item toward the back, a medium one slightly forward and a small one in front, and let some pieces overlap by a little. Vary the gaps so the eye has places to rest, and leave a few areas of the shelf empty on purpose.
Think in triangles. Three objects at different heights create a gentle triangle that the eye follows naturally. Repeat that idea on the other side of the frame with a different set, so the two halves balance without matching exactly. Perfect symmetry looks stiff on camera, while loose balance feels relaxed.
Keep the area right behind the speaker's head and shoulders quieter. Place your strongest pieces off to one side, roughly a third of the way into the frame, where they add interest without competing with the face. Anything that seems to grow out of the speaker's head should move at once.
Test it through the lens before you record
Set up your camera at the real height and distance, sit in the speaker's chair, and take a still photograph. Look at it on a screen rather than judging by eye in the room, because the lens flattens depth and exaggerates anything near the edges. Squint at the image: the speaker should still be the first thing you see.
Then scan the corners and edges. Look for cut-off objects, cables, glare spots and any item that sits exactly on the frame line. Move things a few inches and shoot again. Two or three small adjustments usually fix what felt slightly wrong.
Finally, ask someone unfamiliar with the room to glance at the photo for five seconds and tell you what they noticed first. If they mention a prop before the person, simplify. Save the final photograph with a note of where each object sits, so you can rebuild the set quickly for the next episode.
- Photograph from the speaker's real seat
- Check corners, edges and glare
- Save a reference photo of the finished shelf
Keep the set fresh through the autumn
Early autumn is a good moment to review your frame. Light comes in lower and warmer, and the shelf you styled in summer may now catch a different glow in the afternoon. Recheck your test photograph at the time of day you usually record, and adjust lamp brightness if the window light has changed.
Seasonal changes need not mean a full restyle. Swap one accent, perhaps a bowl of dried seed heads in place of fresh flowers, or replace a book stack with a different colour on the spine side. Small rotations keep regular viewers from feeling the background is static, while the structure of anchors, mediums and accents stays the same.
Store the retired props together with their reference photo. That way you can bring them back later without starting over, and you build a small library of arrangements you already know work on your camera.
Good prop styling comes down to restraint and testing. Give every object a reason, sort by size and finish, build in layers, and check the result through the lens rather than in the room. A frame arranged this way supports your guest and your topic without asking for attention, and it is easy to refresh as the seasons change.
Keep reading
-
Two Chairs, One Awkward Gap: A Furniture Placement Case
Nadia hosts a weekly interview show from a narrow spare room. Here is how moving two chairs, not buying new ones, changed how she and her guests look on camera.
-
What Reading Your Room Costs and What Moves the Price
A plain look at what the Reading Your Room module asks of you in money, time and materials, and which parts of a room survey decide whether the effort stays small or grows.
-
What "Motivated Object" Means When You Style a Shelf Behind a Host
A term from set styling, explained in plain words: a motivated object is anything in frame that has a reason to be there. Here is how to test each book, plant and lamp.