
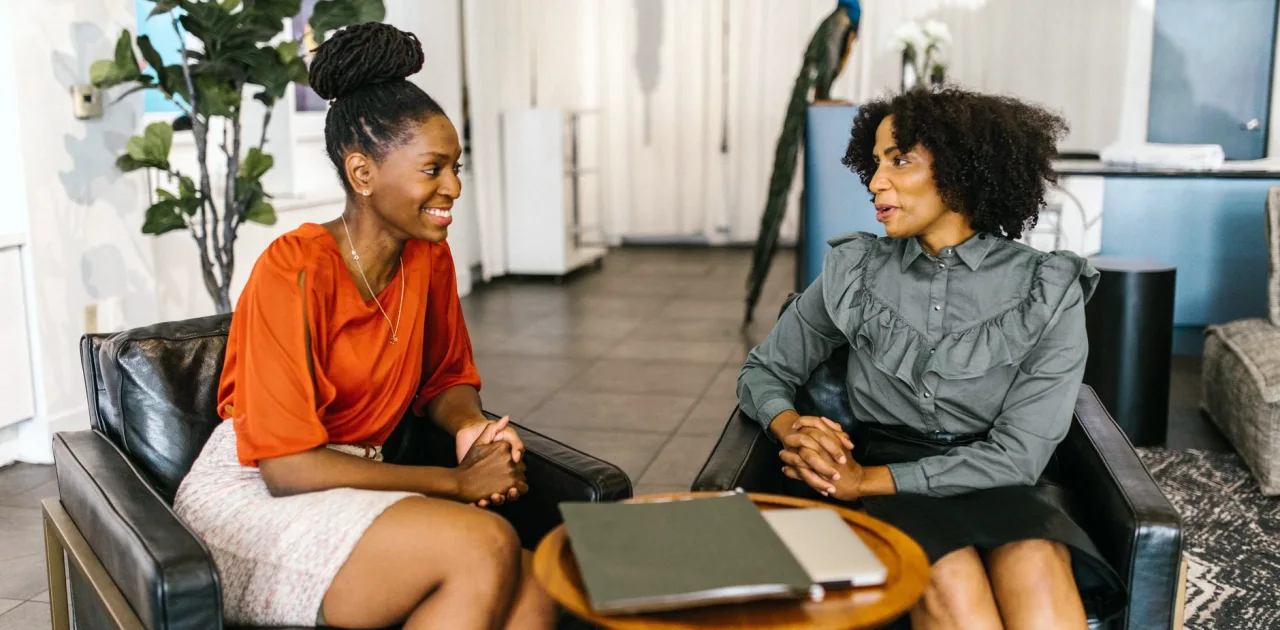
Two Chairs, One Awkward Gap: A Furniture Placement Case
Nadia hosts a weekly interview show from a narrow spare room. Here is how moving two chairs, not buying new ones, changed how she and her guests look on camera.
A narrow room and a stiff frame
Nadia came to the course with a spare room that measured a little under eleven feet across and a weekly interview show that, in her words, always looked like a job interview. She had two matching armchairs, a small side table and a window on the left wall. Her guests sat directly opposite her, knees almost touching, and the camera caught them both flat on, like two people at either end of a dining table.
She sent me photographs and a rough tape measure sketch before our first session. That was the right starting point, because the problem was not the chairs themselves. It was the distance between them, the angle they faced and the way the single camera had been placed to cover both. None of it needed new furniture, only a different arrangement of what she already owned.
What the measurements showed
When we laid her numbers onto a simple floor plan, the gap between the chairs was about two feet. That is comfortable for a chat in a kitchen, but on camera it pushed both faces close together and left no air between them. The chairs also sat square to the wall, so each person's shoulders faced the lens head on, which made even a relaxed guest look braced.
We also marked where the window sat. Daylight fell across Nadia from the side while her guest sat in shade, so the two halves of the conversation looked like they were filmed in different rooms. A plan drawn to scale made this visible in a way the photographs alone had not.
- Gap between chairs: about two feet, too tight for the frame
- Chairs square to the wall, shoulders facing the lens
- Window light reaching only one seat
Angles, distance and sightlines
We turned each chair inward by roughly thirty degrees so the two seats formed a gentle V, open toward the camera. Turning the chairs lets each person sit with a slight body angle, which reads as relaxed and attentive without any coaching. We then widened the gap to around four feet and moved the side table out of the shot, since it only collected mugs and cables.
The sightline mattered as much as the angle. Nadia's guest needed to look at her naturally, not at the lens or at a blank wall behind her. We checked this by sitting in each chair and noting where the eyes landed, then adjusted the camera so both people looked slightly toward one another rather than past the frame.
Placing the camera and the seat for one guest
Her show usually has one guest, so we planned for two people and kept a third seat as an option only. The camera moved from the corner to a spot just behind and beside Nadia's shoulder, which let it see the guest almost straight on while Nadia appeared in a soft three-quarter view. This is a common pattern for a two-person set and it keeps the host present without crowding the frame.
We tested it by recording a short clip with a friend standing in for a guest. The first take showed the guest too low in the frame, so a firmer cushion raised the seat by an inch or two. Small changes like this are cheap and quick, and they are easier to judge on a recorded clip than by eye in the room.
The result and what changed on screen
The next episode looked noticeably calmer. The two chairs now read as a deliberate pair, there was visible space between the speakers, and the window light fell across both faces more evenly because the V shape brought the guest a little closer to the glass. Nadia told me her guests settled faster, and she no longer felt she had to fill silences to cover for a stiff set.
Nothing in the room was bought. She did later choose a slim stool for the occasional third person, but only after we had marked its footprint on the plan and confirmed it fit without crowding the other two seats. The plan came first and the purchase followed, which is the order I encourage.
What you can try in your own room
You do not need Nadia's exact room to use the same method. Start with a tape measure and a sheet of paper, draw the room as a simple rectangle, mark windows and doors, and place paper cut-outs for each chair at the real distances. Move them around before you lift anything heavy, and note the angle each person's shoulders make toward the camera.
Then sit in each seat and look where your eyes naturally rest. If the answer is a blank wall, a cable or the lens itself, adjust the angle until the sightline lands on the other person. Record a short test clip, watch it with the sound off, and ask whether the two people look like they are in the same conversation.
- Draw the room to scale and cut out paper furniture
- Turn seats inward about thirty degrees toward each other
- Leave roughly four feet between two seats on camera
- Check sightlines from every chair before moving anything heavy
- Record a short test clip and watch it with the sound off
Nadia's case is a small one, and that is why it is useful. Two chairs, a tape measure and a willingness to try a few angles were enough to change how her show felt on screen. Furniture placement rewards patience more than budget. Measure first, move things on paper, test with a short recording, and let the sightlines decide where each seat belongs before you spend anything.
Keep reading
-
A Checklist Before You Commit to a Layout Plan and Setup Day
Priya Nair lists the questions worth answering before you turn a concept into a scaled layout plan and decide whether a calm, optional setup session suits your recording space.
-
Layout Plan Mistakes That Make a Setup Day Harder Than It Needs to Be
A scaled layout plan only helps if it matches the real room. Priya Nair walks through the slips she sees most often and how to avoid each one before setup day.
-
What We Changed in the Background Design Module This Autumn
Marisol Vega explains how the Background Design module now moves from wall photographs to simple sketches of shelves and panels, so the space behind the speaker has depth without clutter.