
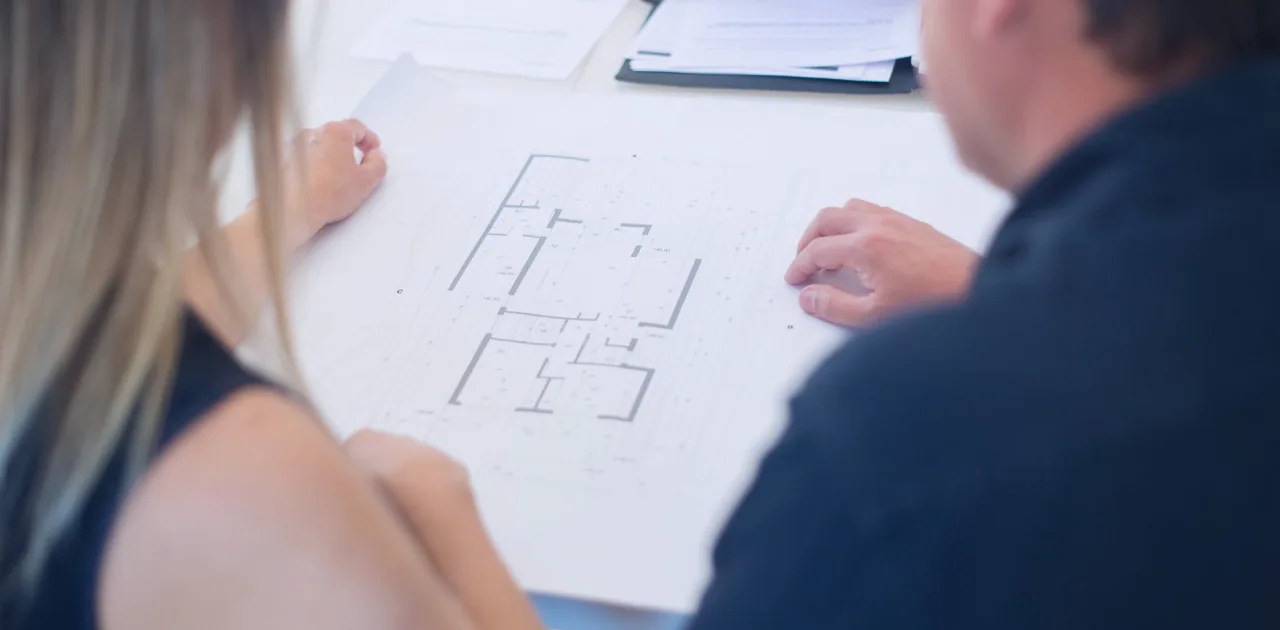
Layout Plan and Setup Day: Plan on Paper or Style in the Room
Two ways to move from concept to finished set: refine a scaled layout plan on paper first, or rearrange furniture directly in the room. A comparison, with a recommendation.
Two ways to arrive at the same room
When a concept is ready, learners reach a fork. One route is the scaled layout plan: a drawing of the room with every chair, shelf, lamp and camera position marked at true proportion. The other is the direct route, where you carry furniture into place, look through the lens, and adjust until the frame feels right.
Both routes can produce a tidy, welcoming set. The difference lies in where the mistakes happen. On paper, a mistake costs an eraser and a few minutes. In the room, a mistake costs a sore back, scuffed floors and an afternoon of moving the same sofa three times. I teach both approaches in the Layout Plan and Setup Day module, and I want to lay them side by side.
Neither route is a shortcut around thinking. The plan makes you decide before you lift anything, while the direct route asks you to decide while holding something heavy. Knowing which suits your room is most of the skill.
- Plan first: drawn to scale, adjusted on paper
- Direct styling: arranged in the room, judged through the lens
What the scaled layout plan gives you
A scaled plan starts with the measurements you took earlier: wall lengths, door swings, window positions and the spot where the power outlets sit. You transfer these to graph paper at a simple ratio, then cut small paper shapes for each piece of furniture and slide them around. It is closer to a puzzle than a technical drawing.
The real value is in the sightlines. Once the camera position is marked, you can draw the edges of the frame and see at once what falls inside it: the corner of a bookcase, a doorway, a radiator you had stopped noticing. Distances between two guests and the host become numbers you can check, not feelings you hope are right.
A plan also travels well. You can share it with a friend who will help on setup day, or keep it for the next time you rearrange. Months later it tells you exactly where things belonged and why you chose them.
- Shows what the frame will include before you move anything
- Lets you test seating distances for one, two or three people
- Becomes a record you can return to
What direct styling in the room gives you
Working straight in the room has its own honest strengths. A drawing cannot tell you how a chair feels at a certain angle, or how afternoon light slides across a wall at that hour. When you place a lamp and watch it through the camera, you see warmth and shadow that no sketch records.
This route suits small, simple spaces: a single chair, one shelf, a wall that is already mostly clear. There are few decisions to make, so the cost of trial and error stays low. It also suits people who think visually and find paper plans stiff or slow.
The risk is drift. Without a fixed reference, it is easy to nudge things for an hour and end up with a set that is no better than where you began, only more tired. Direct styling works best when you stop at a set time and take a photograph at each stage.
- Reveals real light, texture and comfort
- Works well in small rooms with few pieces
- Needs a time limit and photos to avoid drift
Comparing them on the points that matter
On effort, the plan front-loads the work and makes the day itself quiet. Direct styling reverses that: little preparation, plenty of physical effort. On accuracy, the plan wins for anything involving two or more people on camera, because distances and angles matter more as the group grows. On feel, direct styling wins, because you judge by eye with everything in place.
On cost, both are cheap. The plan needs paper, a ruler and some patience. The direct route needs only your time and willing helpers. On regret, the plan is gentler: a poor idea is crossed out, not carried upstairs and carried back down.
Room size changes the balance too. A narrow room with a door in the wrong place punishes guesswork, while a wide, open room forgives it. Be honest about which kind of space yours is before you choose.
- Effort: plan is front-loaded, direct is physical
- Accuracy: plan is stronger for multiple guests
- Feel: direct styling shows real light and comfort
My recommendation, and why it is a combination
I recommend starting with the plan and finishing in the room. Draw the layout, test two or three arrangements on paper, and choose the one that keeps the frame calm. Then treat setup day as the moment to confirm and refine, not to invent. Nothing needs to be settled beforehand that the room can settle better.
In practice, about nine tenths of the decisions belong on paper and the last tenth belongs to your eyes. You move the big pieces according to the plan, then spend the remaining time on small adjustments: turn a lamp a few degrees, shift a plant, straighten a stack of books.
The only exception is a very small, single-chair set. There, skip the drawing, take a photograph of the wall, and style it directly. Everything larger deserves a plan, because the plan is what keeps the setup session unhurried.
Keeping setup day calm and optional
Setup day is optional, and I say so deliberately. Some learners prefer to carry out the plan alone over a weekend; others like a second pair of hands and a second opinion. Either is fine. What matters is that the day has a shape: moving large items first, then lighting, then props, then a test recording.
Allow more time than you expect, and put the camera on a stand before you place anything else, so every choice is judged from the viewer's position. Take a photograph after each stage. If a change makes the frame worse, you can go back one step without guessing what was different.
Finish with a short test recording and watch it once without stopping. Mark anything that distracts you, fix only those things, and then leave the room alone. A set that looks composed does not need constant tinkering.
- Large furniture, then lighting, then props
- Photograph each stage so you can step back
- End with a test recording and a short fix list
Paper and room each catch what the other misses, so use both in order. Draw the layout to settle distances and sightlines, then let setup day be a calm confirmation with small, deliberate adjustments. Keep the plan afterwards; it will save you the next time something needs to move. If the space is tiny and holds one chair, style it directly and stop at a set time. Everything else rewards a little drawing first.
Keep reading
-
How to Build a Warm Neutral Palette and Mood Board for Your Set
A step-by-step guide to choosing a warm neutral palette and assembling a mood board that suits your guests, your topic and the way your camera sees colour.
-
Choosing and Arranging Props So Every Item Earns Its Place in Shot
A step-by-step method for selecting books, plants, lamps and small objects behind an interview host, and for testing the arrangement on camera before you record.