
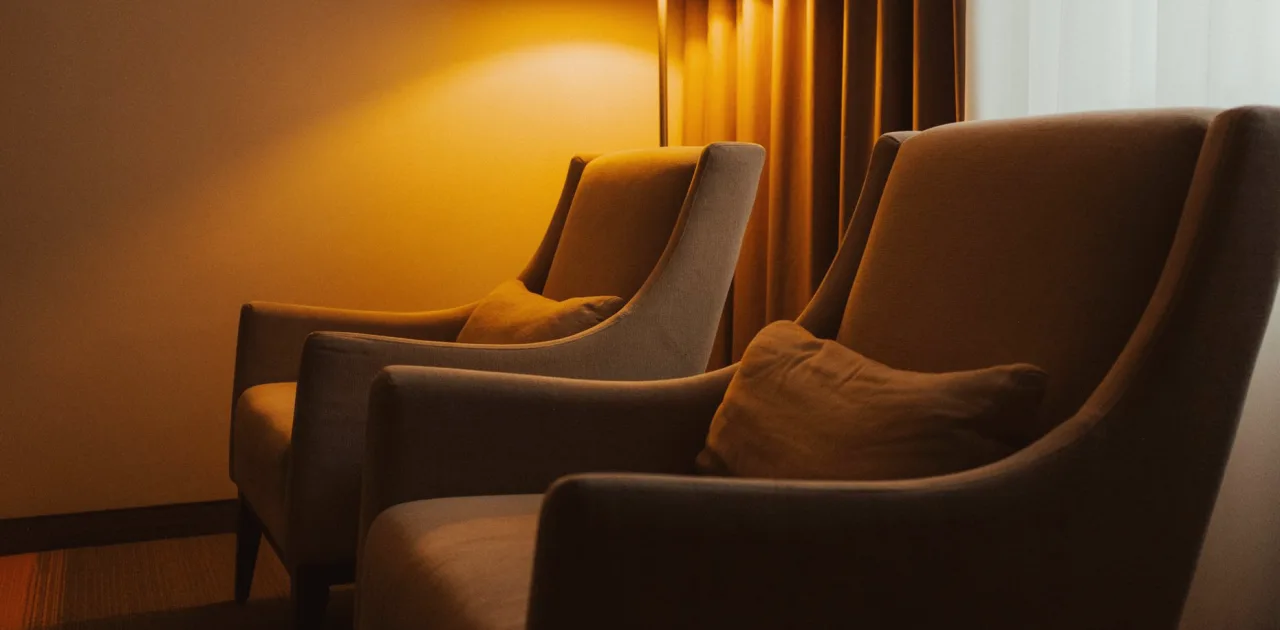
Where Chairs Go: Seating Distances and Sightlines in the Furniture Placement
A look at how the Furniture Placement module handles spacing, angles and sightlines for one, two or three people on camera, and what learners bring to it.
What the module covers this term
Furniture Placement is the fourth module in the curriculum, and this autumn we have reworked its second half. The first half, taught earlier in the term, introduced the basics of seating for a single speaker. What follows here is the part that deals with two and three people on camera, where small choices about distance and angle decide whether a conversation looks relaxed or stiff.
Learners start from the room measurements and photographs they collected in Reading Your Room. That material matters, because a plan for chairs is only useful if it respects the real walls, doors and window light. Each learner draws a scaled top-down sketch, marks where the camera sits, and tests two or three arrangements on paper before anything is moved in the actual room.
Distances between seats
The most common surprise for learners is how close two chairs can sit before the frame starts to feel crowded, and how far apart before the talk feels formal. We work with a simple method: place the seats, then check the gap against the width of the frame at the speakers' position. A gap that reads well in the room often looks wider through a lens.
Daniel asks learners to sit in their own chairs, speak for a few minutes and review a short test clip. The point is not a perfect number. It is to see for yourself where comfortable conversation and a tidy frame overlap, then write that range into the layout plan so it can be repeated on the next recording day.
- Measure the frame width at seat height, not at the wall
- Leave room for elbows and a small side table
- Note the gap on the plan so it can be repeated
Angles that keep a conversation natural
Chairs set square to the camera tend to look like a panel, while chairs turned slightly toward each other look like a conversation. In the module we practise angling seats inward by a modest amount, enough that each person can look at the other without turning their head far, yet both faces remain open to the lens.
We also talk about the host's position. A host who sits a little off-centre, with the guest nearer the middle of the frame, gives the viewer a clear focus. Learners compare a few angle options on their sketches and write one sentence on why they chose the one they did, which makes the decision easier to explain to guests later.
Sightlines for one, two or three people
A sightline is simply where each person's eyes rest during the recording. For a single speaker, that is the camera or a point just beside it. For two, it is mostly each other, with occasional glances to notes. For three, it becomes more complex, and the seating needs a shape that lets everyone see everyone without twisting.
We introduce a gentle arc for three seats, with the middle seat set slightly back. Learners check that no one's line of sight crosses a lamp, a plant or a shelf edge that would pull attention. The exercise is quiet and practical: draw lines from each seat, then adjust until nothing interrupts them.
What learners bring and what they leave with
To get the most from the module, bring your room measurements, a few photographs from different corners, and a note of how many people usually appear on camera. A tape measure and a pencil are enough. No design background is expected, and the work is done at your own pace through sketches and short written reflections.
By the end, each learner has a scaled seating plan with distances, angles and sightlines marked, plus a short list of adjustments to try. That plan feeds directly into the later Layout Plan and Setup Day module, where the arrangement is combined with background and props into one complete drawing.
A note on keeping it simple
Many learners arrive thinking a good set needs a lot of furniture. In practice, two well-placed chairs and a small table often do more than a crowded corner. Part of the module is learning what to take out of the frame, and being comfortable with empty space around the speakers.
Marisol often reminds the group that a layout should be easy to rebuild. If the arrangement takes an hour of guesswork each time, it will drift. A clear plan, with marks on the floor if needed, keeps the frame consistent from one recording to the next.
Furniture Placement turns a loose idea of where to sit into a drawn, measured plan that works on camera. Whether you record alone, with one guest or with a small panel, the aim is the same: seats that feel comfortable, a frame that stays tidy, and sightlines that let the conversation breathe. Bring your measurements and photographs, and the module will help you shape them into an arrangement you can repeat with confidence.
Keep reading
-
What Background Design Costs and What Moves the Price
A plain look at what drives the cost of designing the wall behind your speaker: materials, build effort, room size and how much you do yourself.
-
A Colour and Mood Board Checklist to Run Through Before You Commit
Before you settle on a palette for your recording space, work through these checks on guests, topic, camera and light, so the board you choose still looks right on screen.
-
Choosing and Arranging Props So Every Item Earns Its Place in Shot
A step-by-step method for selecting books, plants, lamps and small objects behind an interview host, and for testing the arrangement on camera before you record.